|
Thanks to LadyValella for allowing me to exclusively translate his tutorials
It was created with Paint Shop Pro X5, but can also be done with other versions of PSP To translate it I used PSP XII Material here
Thanks to all the creators of tubes who, with their work, allow us to make our creations The woman's tube is from LadyValella *** Filters AP Color - Circus Daze AP Distort - ShiftMesh Trasparency - Eliminate White *** EXECUTION *** Used colors
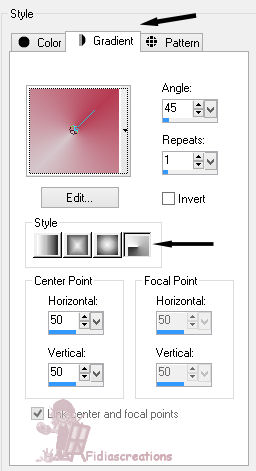
*** Material palette Foreground color #b63c53 Background color #d5c7cc Open a new transparent image of 700 X 500 pixels Prepare a gradient, radial style
Fill the canvas Layers - New raster layer Selections - Select all Open the tube "+Snowby-tube ByLadyValella" Copy - Paste into Selection (do not close it because you will still need it) Selections - Select none Effects - Image - Seamless Repeat / Default setting
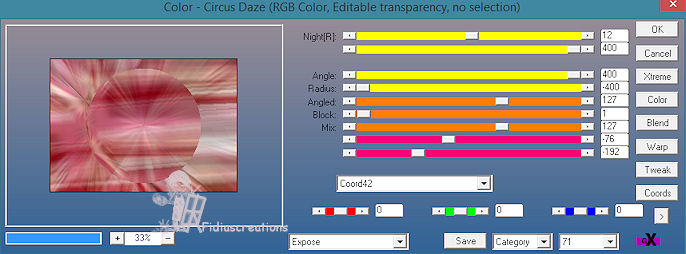
Adjust - Blur - Radial Blur Layers - Merge - Merge Visible Layers - Effects Filters - AP Color (AP 19) - Circus Daze
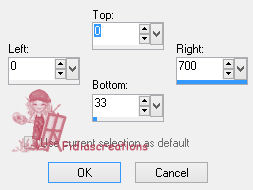
Adjust - Sharpness - Sharpen Layers - Duplicate Layer palette - Rename the lower of these two Background Close this layer Layer palette - Activate the top layer Effects - Filter AP Distort - ShiftMesh Adjust - Sharpness - Even sharper Layers - New raster layer Activate Selection tool rectangle - Custom selection
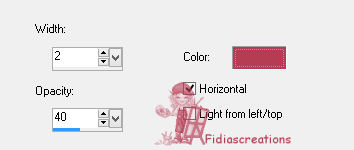
Fill with the AG color d5c7cc Effects - Texture Effects - Blind (color on the VG color #b63c53)
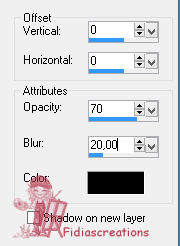
Selections - Select none Effects - Distortion Effects - Sphere shape Layers - Duplicate Image - Flip (horizontal) Image - Flip (mirror vertically) Layers - Merge - Merge down Effects - Filter Unlimited 2.0 - Trasparency - Eliminate White Effect - Edge Effects - Enhance More Effects - 3D Effects - Drop Shadow, black
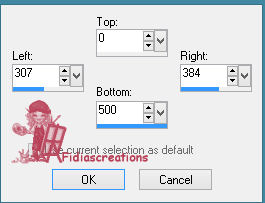
Adjust - Sharpness - Sharpen Layers - Merge - Merge Down Layers - New rster layer Activate Selection tool rectangle - Custom selection
Selections - Modify - Feather Inside/Outside
Fill with the VG color #b63c53 Selections - Select none Effects - Distorsion Effects - Spiral
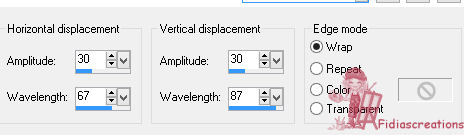
Effects - Distorsion Effects - Wave
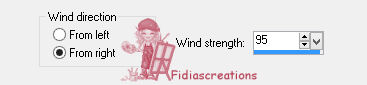
Effects - Distortion Effects - Wind
Layers - Properties - Blend Mode lighten Layers - Duplicate Layers - Merge - Merge Visible Open the tube "frattale vortice" Copy - Paste as new layer Layers - Properties - Blend Mode Luminance (old) Layers - Merge - Merge Visible Layers - Properties - Blend Mode Hard Light Layer Palette - Open the bottom layer Layer palette - The top layer is active Open the tube "cuori" Copy - Paste as new layer Open the tube "+Snowby-tube ByLadyValella" Copy - Paste as new leayer Image - Resize to 60%, Uncheck all layers Move slightly to the right Adjust - Sharpeness - Aharpen Effects - 3D Effects - Drop Shadow, black
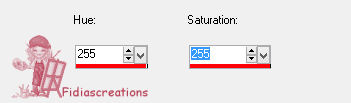
Open the tube "Deko" Copy - Paste as new layer Images - Free Rotate 90° left Place on the left, see finished picture Layers - Duplicate Image - Mirror Layers - Merge - Merge down Adjust - Hue and Saturation - Colorize
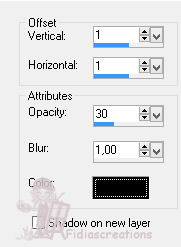
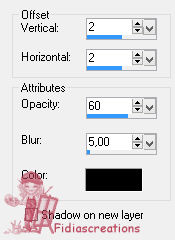
Effects - 3D Effects - Drop Shadow, black
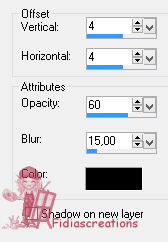
Image - Add Borders - Symmetric - 2 pixels color #850005 Image - Add borders - Symmetric - 20 pixels color #d5c7cc Image - Add Borders - Symmetric - 2 pixels color #850005 Selections - Select all Selections - Modify - Contract 22 pixels Effects - 3D Effects - Drop Shadow, black
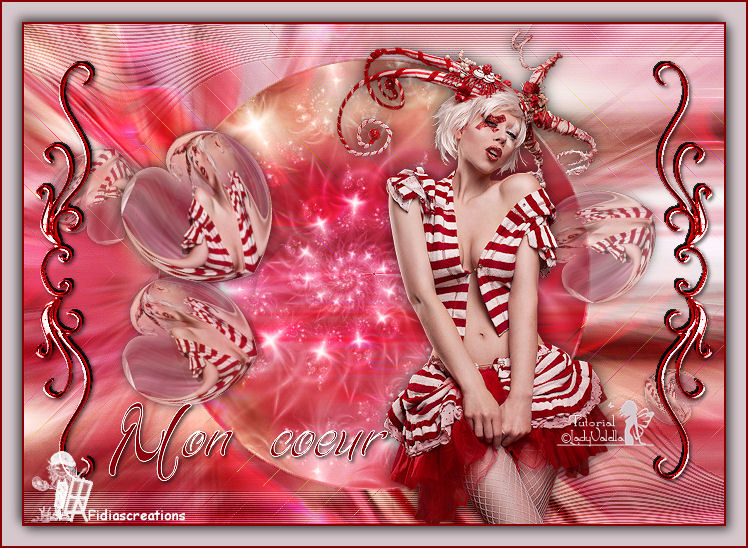
Repeat the shadow with the values -4 vertical and -4 horizontal Selections - Select none Material Palette Foreground color #ffffff Background color #850005 Activate Text tool Used font Signarita Chloe - Size 96 pixeles (or choose a font of your choice) Write the text "Mon coeur" Layers - Convert to raster Layer Effects - 3D Effects - Drop Shadow, black
Place left below - see finished picture or you can Open the tube "logoTut2016" Copy - Paste as new layer Pace your name or watermark Layers - Merge - Merge all layers Save as Jpg *** If you have problems running the tutorial or just want to tell me you liked it, write me
*** translated 01/20/2023 *
|