|


Thanks to LadyValella for allowing me to exclusively translate his
tutorials

Find the original of this tutorial here

It was created with Paint
Shop Pro X5, but can also be done with other versions of PSP
To translate it I used PSP
XII
***
Material here

***
Filters Graphics Pluss - Cross Shadow
Mock - Bevel
Toadies - What are you?
***
Open the material in your workspace
- Step 1 -
Open a new canvas 720 x 440 pixels, transparent
Set Foreground Color #a68a8b and Background Color #f0b9e0
Prepare a linear style gradient
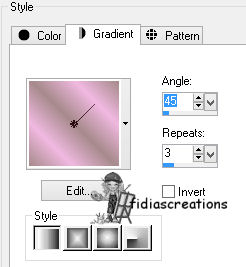
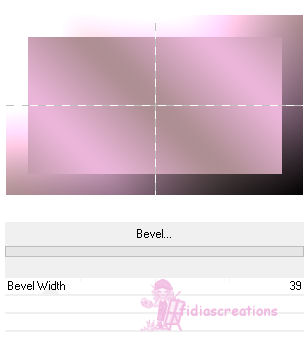
Fill the level
Adjust - Blur - Gaussian Blur, Radius 25

Effects - Plugins - Mock - Bevel, value 39
- Step 2 -
Layers - New raster layer
Fill with background color
Layers - Arrange - Move Down
Layers - Merge - Merge Visible
Layers - New raster layer
Fill it with the gradient
Image - Resize to 75%, all layers unselected
Effects - Plugins - Mock - Windo
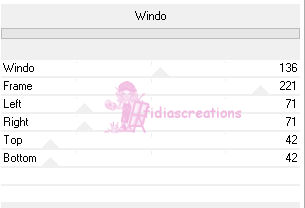
Image - Resize to 75%, all layers unselected
Layers - Duplicate
Position yourself on the original layer
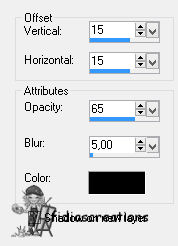
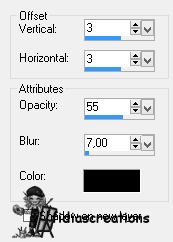
Effects - 3D Effects - Drop Shadow, black
Position yourself on the duplicated layer
Image - Rotate right
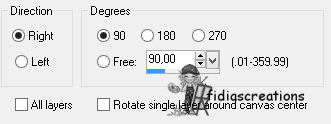
Image - Resize to 75%, all layers unselected
Effects - Plugins - Toadies - What are you?, with default settings
Repeat 2 times
Effects - Edge Effects - Increase
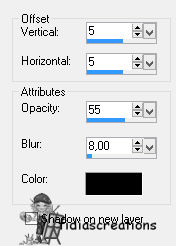
Effects - 3D Effects - Drop Shadow, same as before
Layers - Merge - Merge Visible
- Step 3 -
Activate the "onda fiori" tube
Edit - Copy
Go back to your job
Edit - Paste as new layer
Activate the tube "tube3-17-8-16_LV16"
Edit - Copy
Go back to your job
Edit - Paste as new layer
Image - Resize to 60%, all layers unselected
Place in the center like the finished image
Effects - 3D Effects - Drop Shadow, black
Activate "MR_Elixir-by-Kenzo(rosa)"
Edit - Copy
Go back to your job
Edit - Paste as new layer
Place to the right, like the finished image
Activate "quadro1"
Edit - Copy
Go back to your job
Edit - Paste as new layer
Position in the upper right corner, like the finished image
Activate "quadro2"
Edit - Copy
Go back to your job
Edit - Paste as new layer
Position in the lower left, like the finished image
- Step 4 -
Image - Add border 14 pixel color #4e0233
Activate the Magic Wand Tool
and select the frame
Effects - Plugins - Graphics Plus - Cross shadow
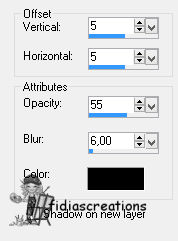
Effects - 3D Effects - Drop Shadow, black
Repeat with the horizontal and vertical values at -5
Deselect
Activate the title
Edit - Copy
Go back to your job
Edit - Paste as new layer
Position in the upper right corner, like the finished image
Effects 3D Effects - Drop Shadow, black
Put the LadyValella logo, sign the work and save in JPG format
***
If you have
problems running the tutorial or just want to tell me you liked it,
write me

***
translated 03/04/2023
*
Backwards
©Fidia's CreationsAll Rights Reserved
Designed and Maintained by Fidia's Creations |